Windows 11 + WSL(ubuntu 20.04) + CLion(2023.3.4) 编译OpenJDK17
1. 前言
为了深入的理解JVM,我们使用JDK的源码来导入CLion开发工具自己编译JDK.下面使用的环境:
- windows11
- WSL2(ubuntu 20.04)
- CLion(2023.3.4)
2. 准备工作
2.1 下载OpenJDK源码
$ git clone https://github.com/openjdk/jdk.git
切换到jdk17的tag版本
$ git checkout tags/jdk-17+34 -b jdk-17
2.2 安装OpenJDK-17
升级Ubuntu软件资源库
$ sudo apt update && sudo apt upgrade -y
安装OpenJDK
$ sudo apt-get install openjdk-17-jdk
完成上述准备工作后进行OpenJDK编译
3. 编译OpenJDK
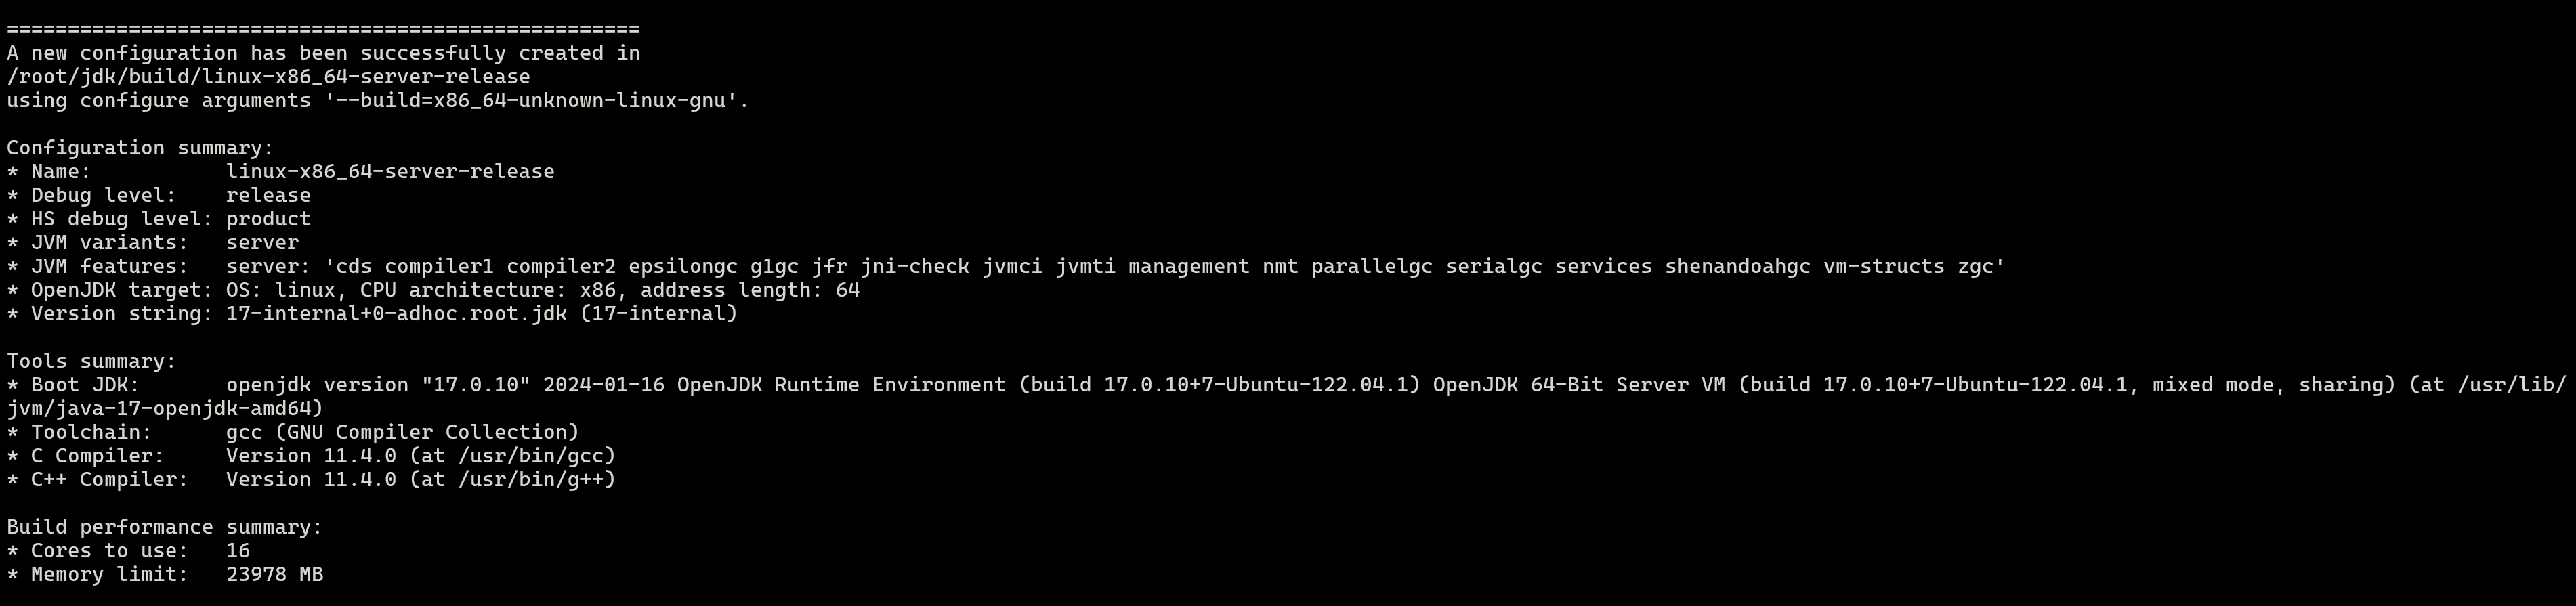
3.1 执行编译命令
$ bash configure --enable-debug --with-jvm-variants=server --build=x86_64-unknown-linux-gnu
编译成功:
执行编译命令的时候可能会遇到下面的问题,针对下面的问题进行一一的解决。
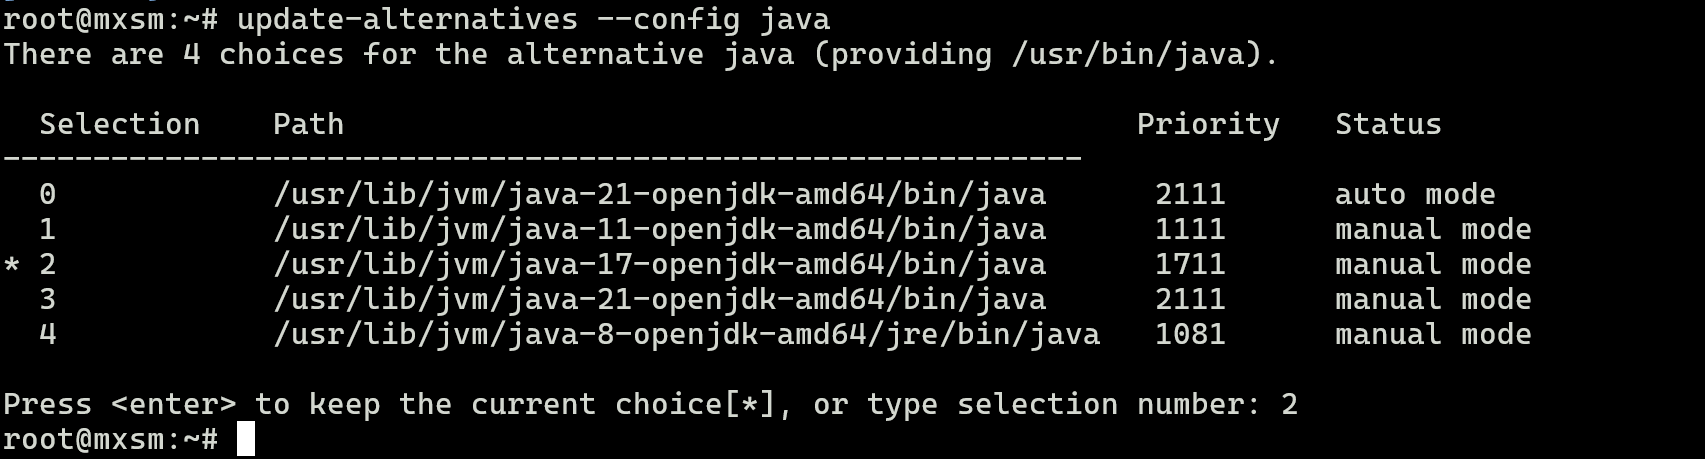
问题1:error: The path of BOOT_JDK

使用的是直接通过命令进行安装,这里需要将之前安装的JDK17配置仔path里面。 使用命令查看:
$ update-alternatives --config java
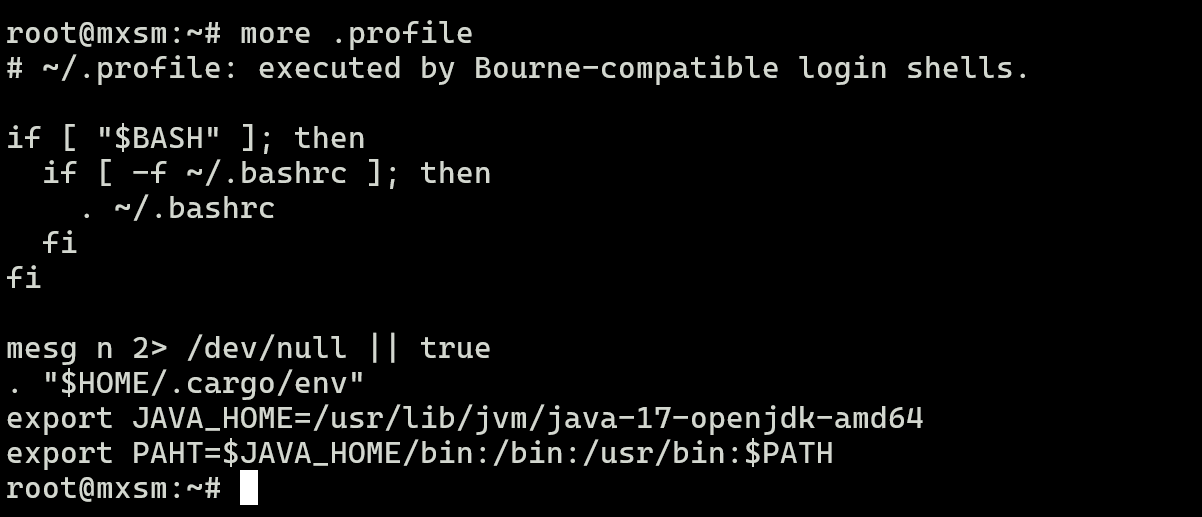
配置path:
问题2�:error: Cannot locate a valid Visual Studio installation

命令增加
$ bash configure --build=x86_64-unknown-linux-gnu
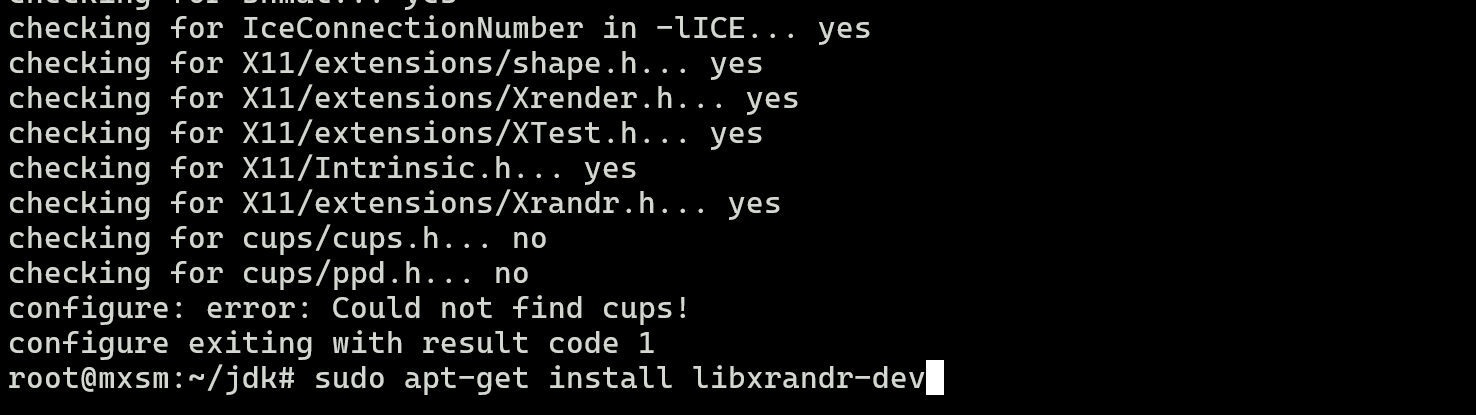
问题3: error: Could not find all X11 headers

执行下面命令安装:
sudo apt-get install libxrandr-dev
问题4:error: Could not find cups!
执行命令安装:
sudo apt-get install -y libcups2-dev
3.2 构建images
$ make images CONF=linux-x86_64-server-fastdebug
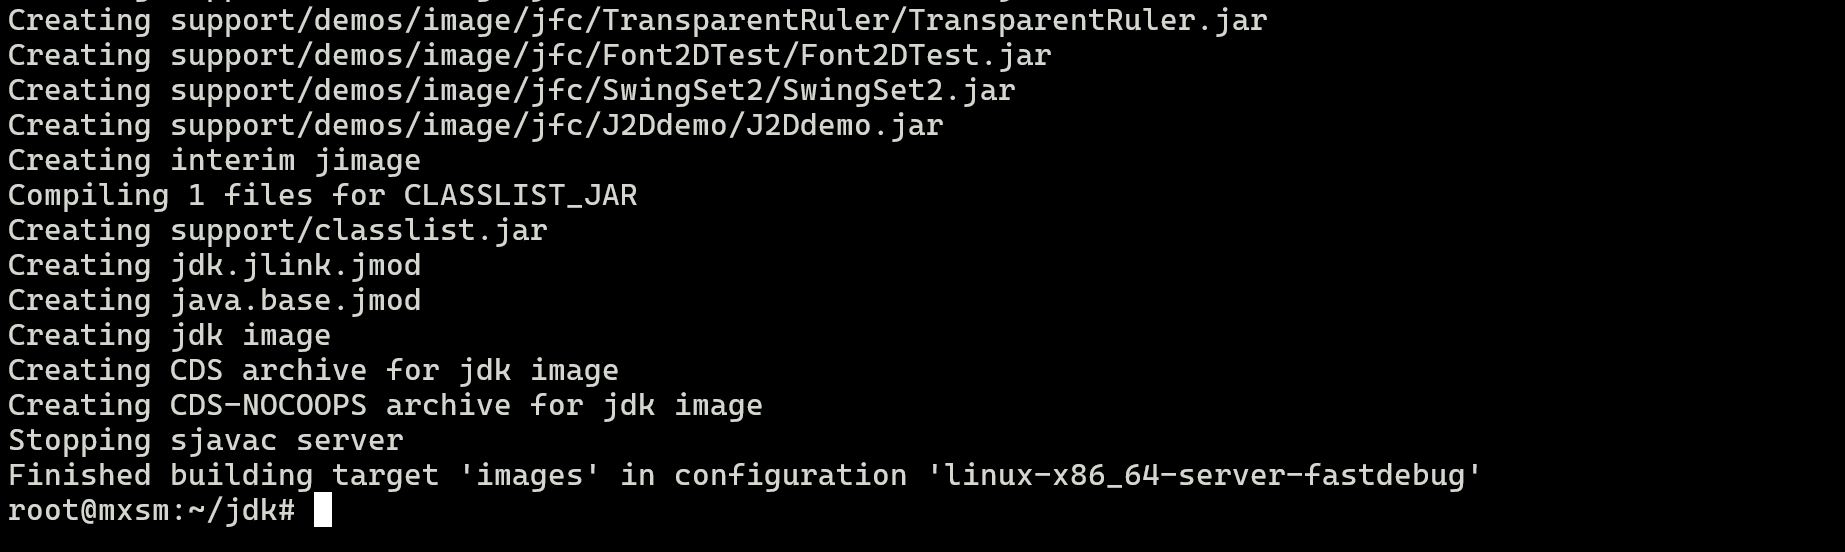
编译成功:

4. 导入CLion
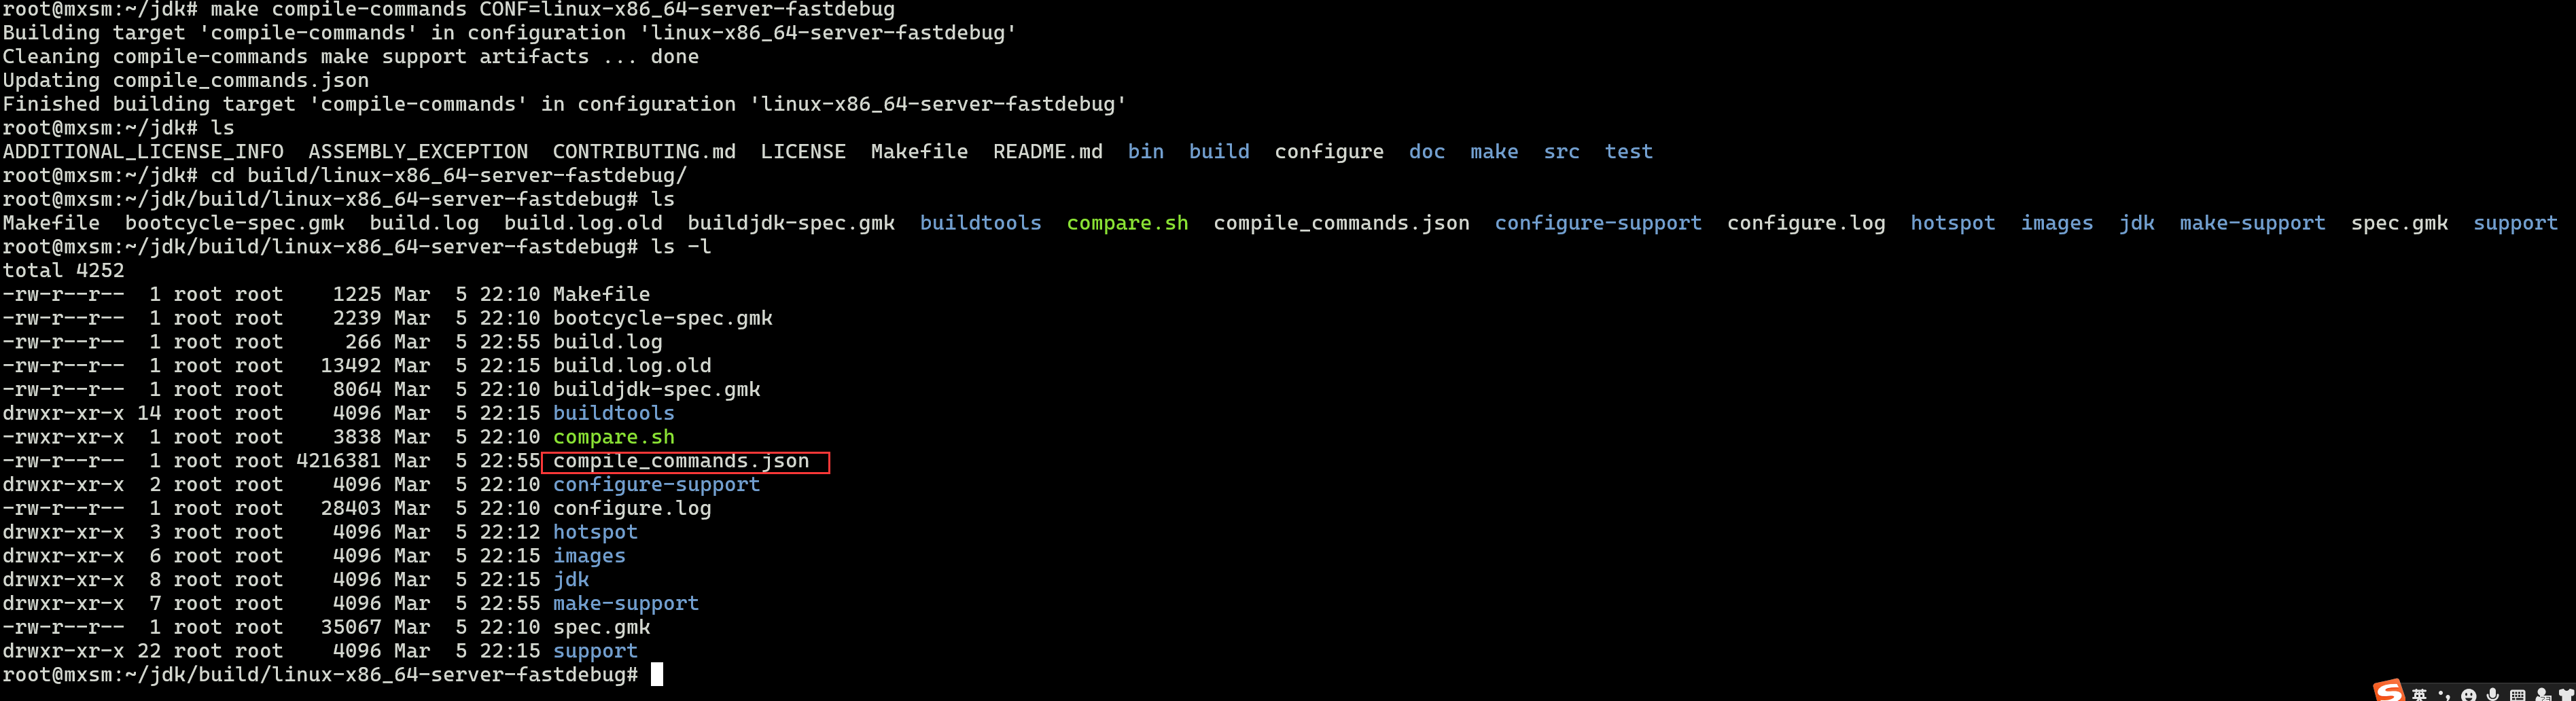
运行命令生成更新compile_commands.json
$ make compile-commands CONF=linux-x86_64-server-fastdebug
这个会生成仔build对应的目录中
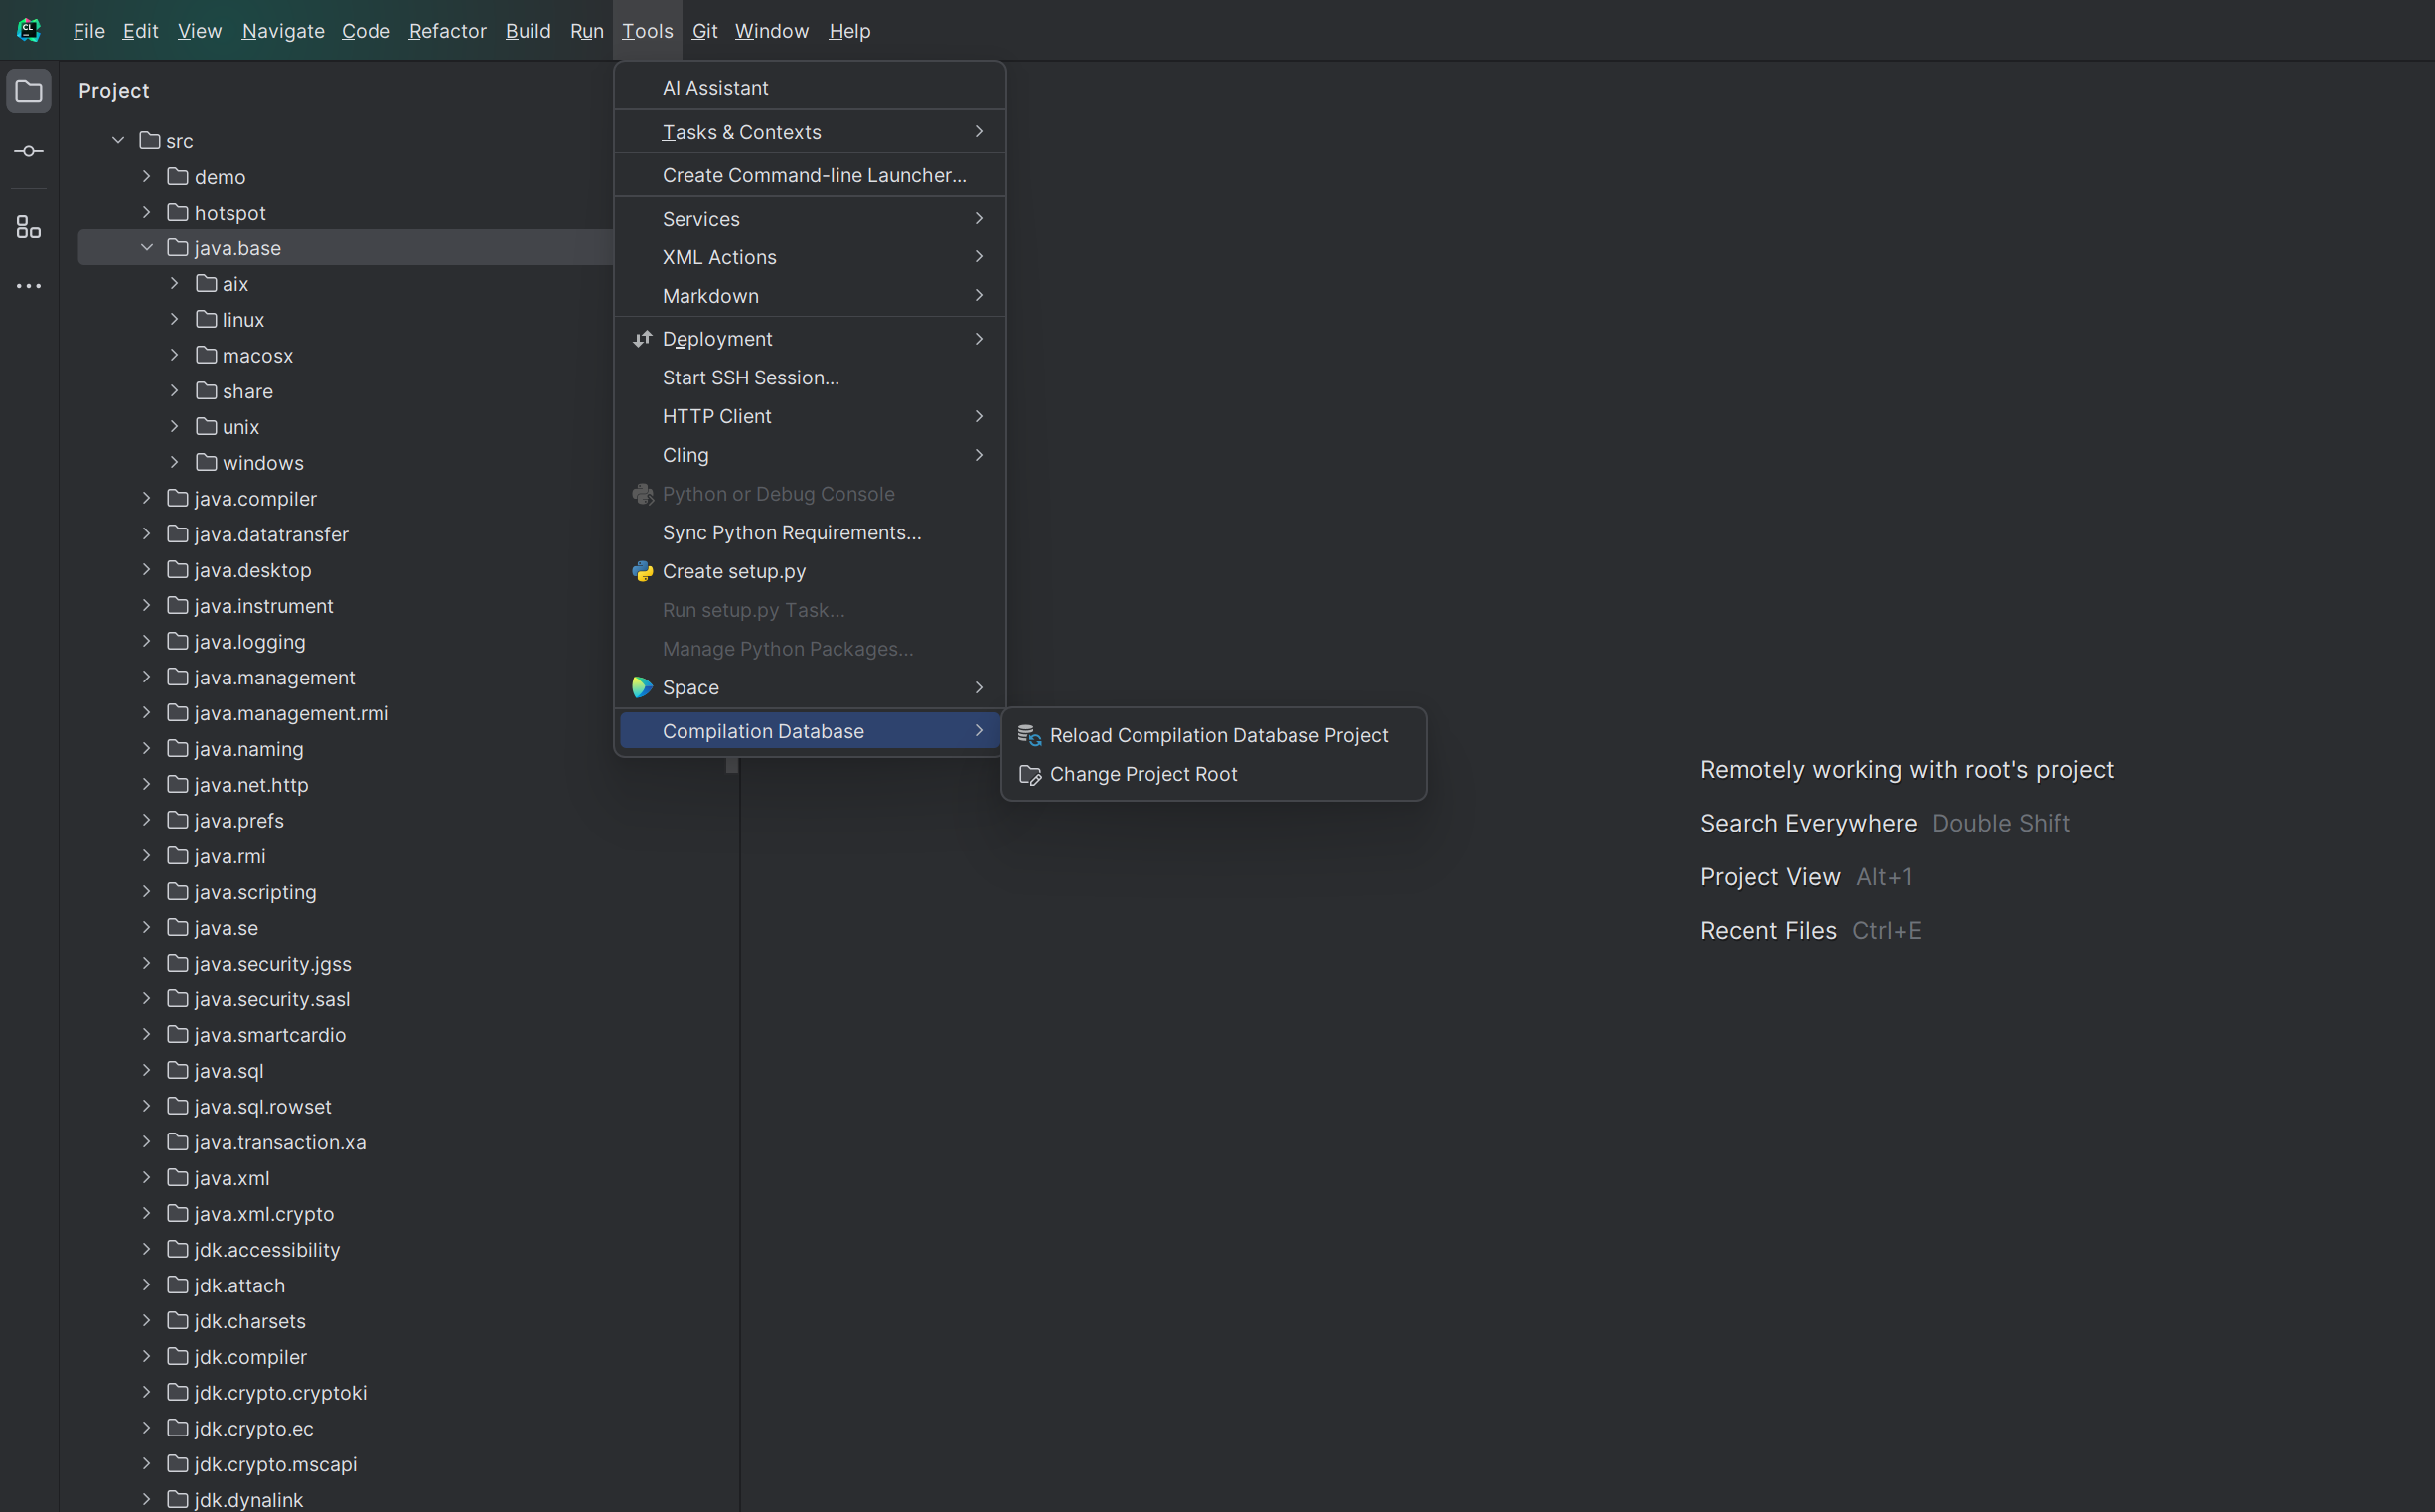
然后使用Clion通过选择这个文件导入项目。导入项目后切换项目根目录,操作路径:Tools -> Compilation Database -> Change Project Root
查找一下main.c这个文件
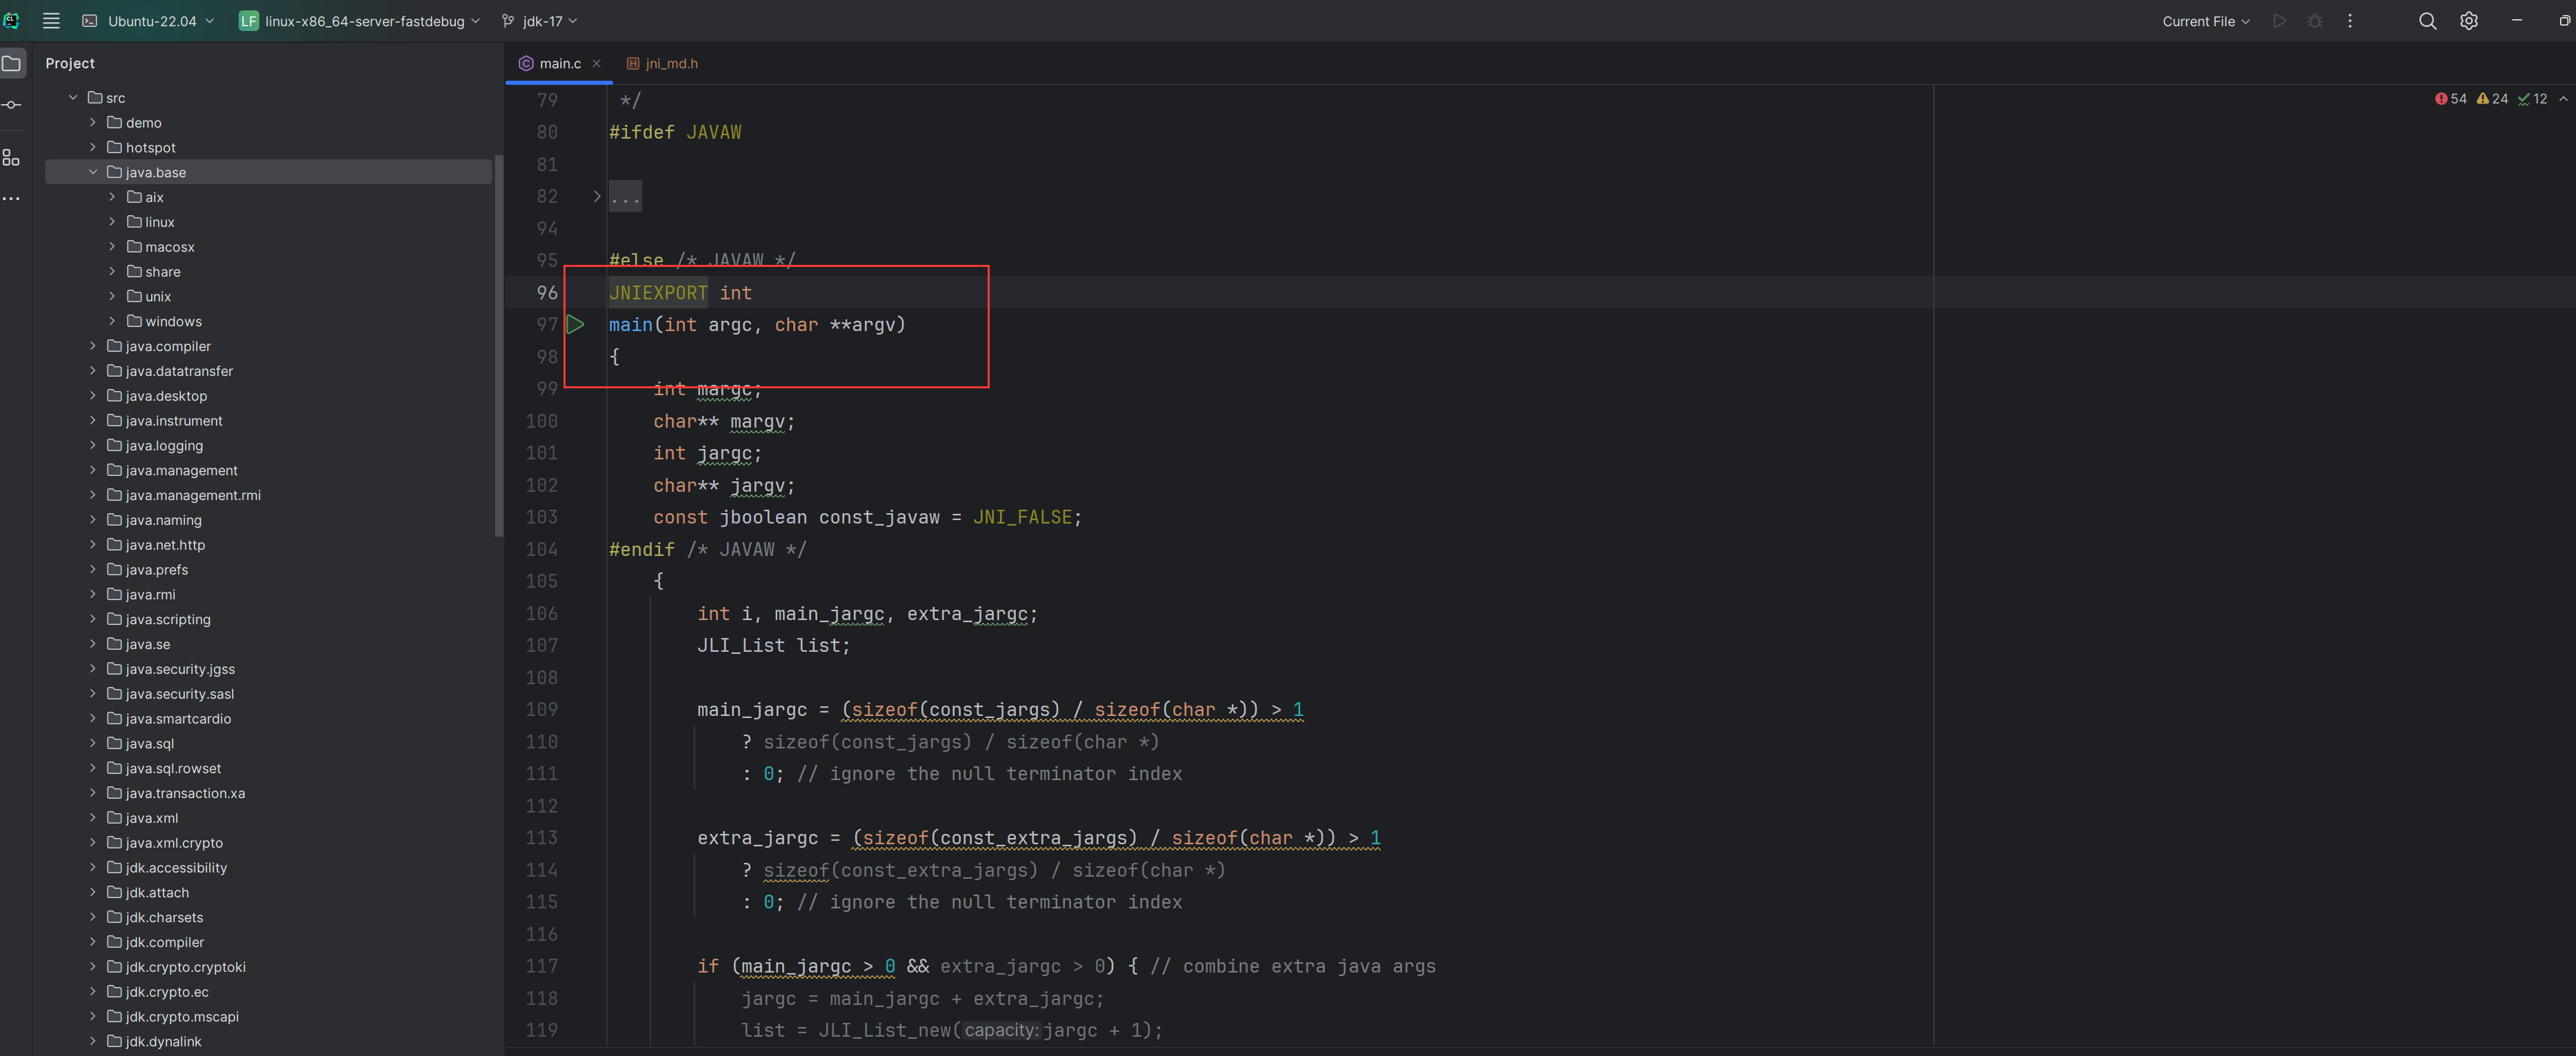
此时已经导入
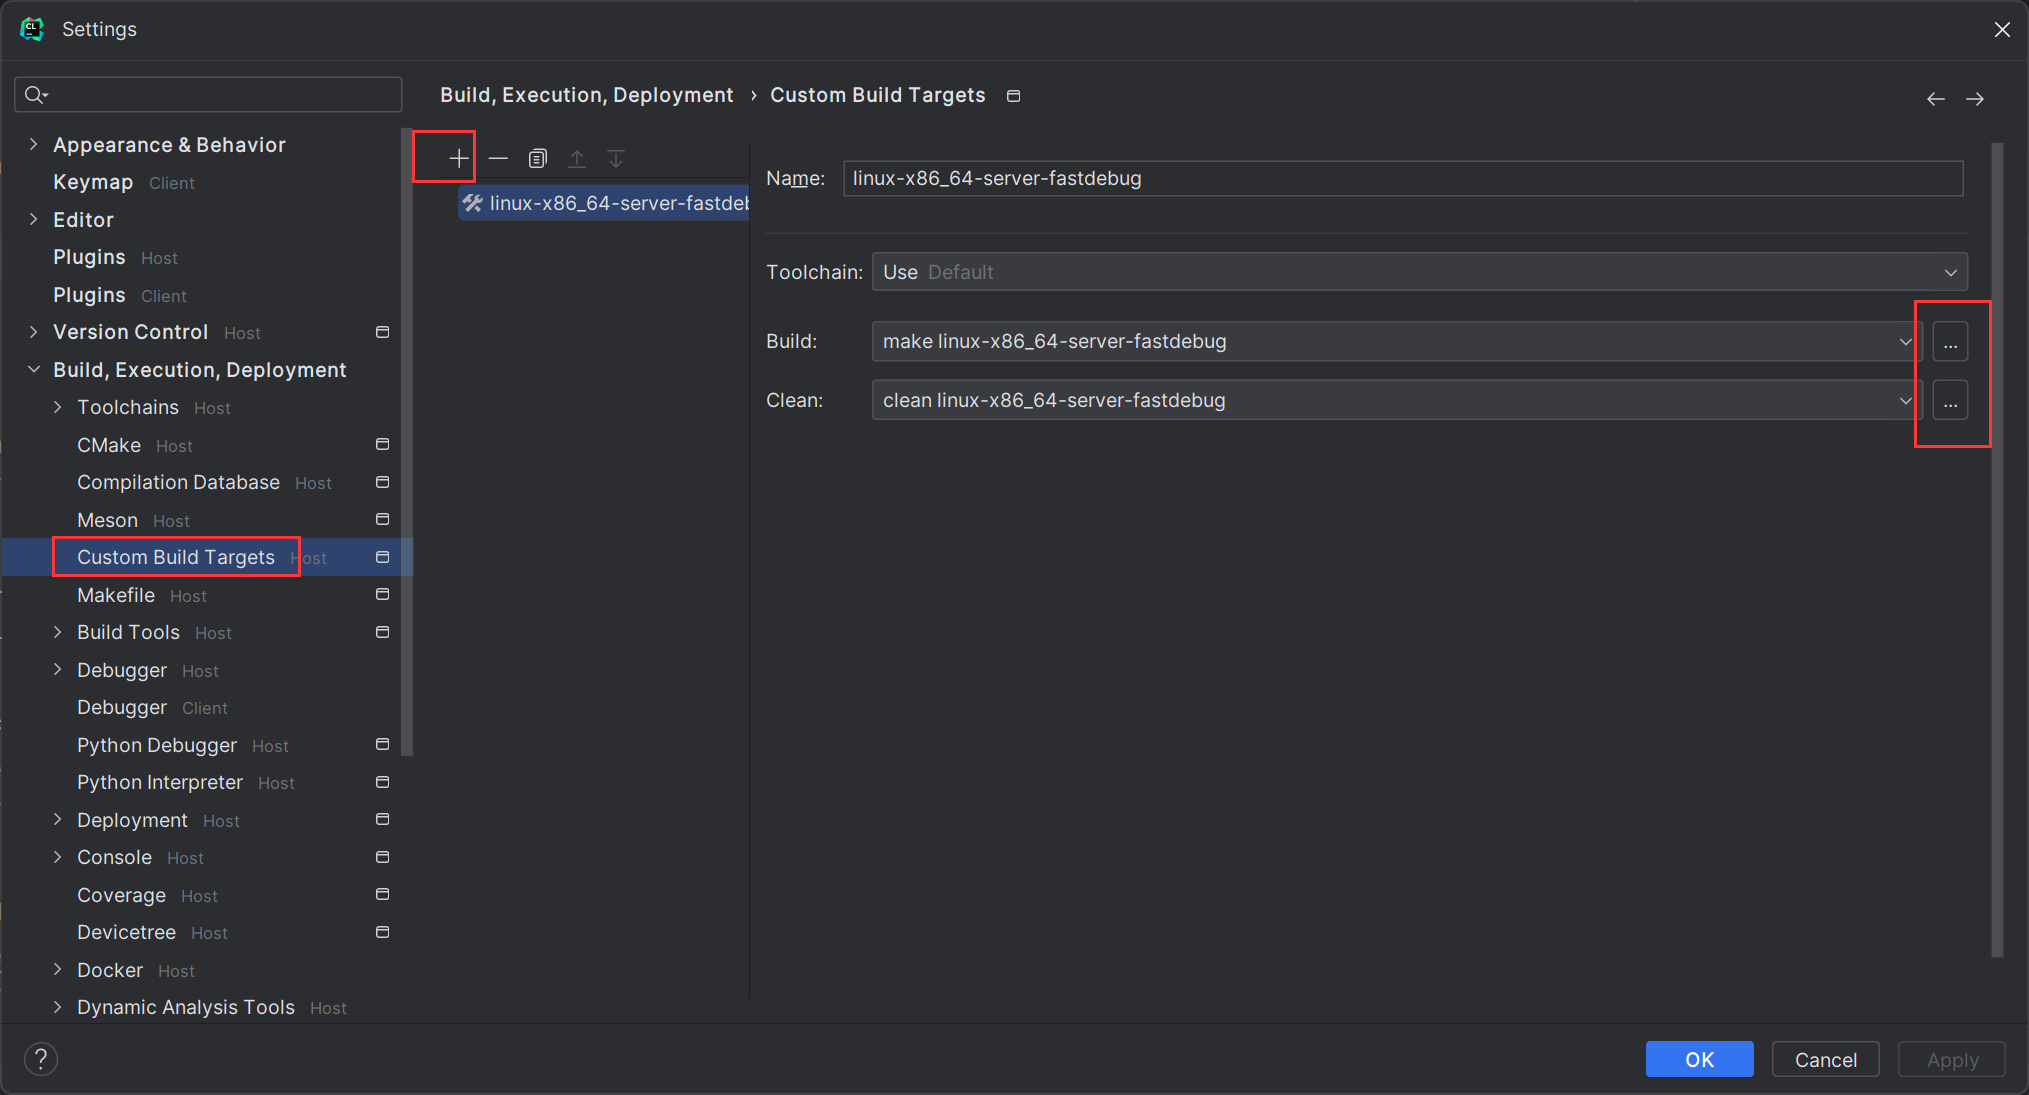
5.配置调试
需要配��置构建目标,操作路径: Preferences > Build, Exceution, Deployment > Custom Build Targets
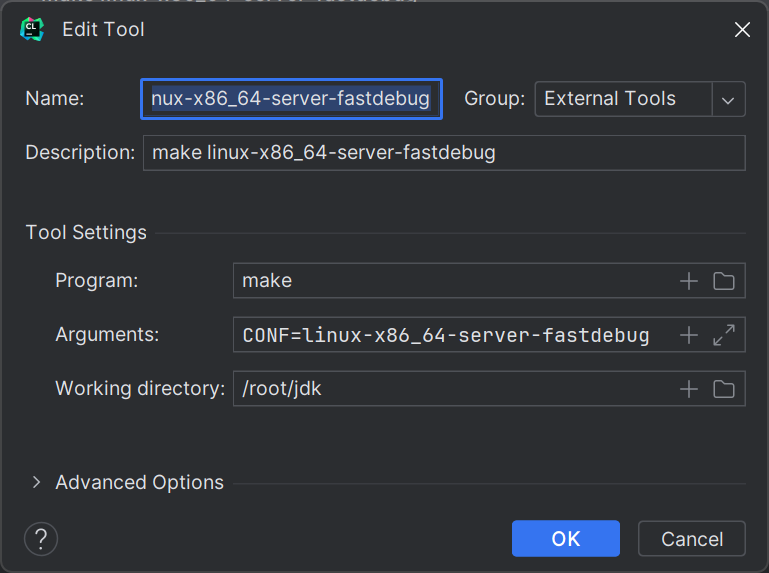
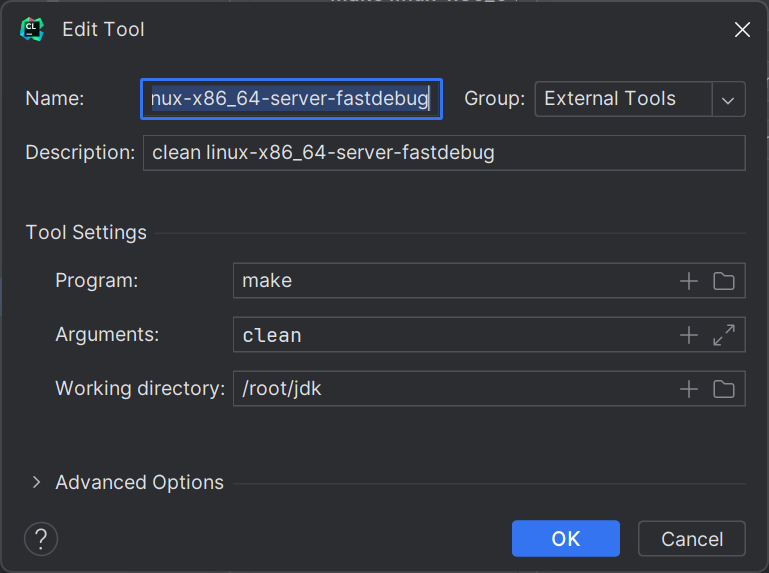
最终打开Edit Tool编辑小面板,其中Tool Settings几个参数内容分别是:
第二个:
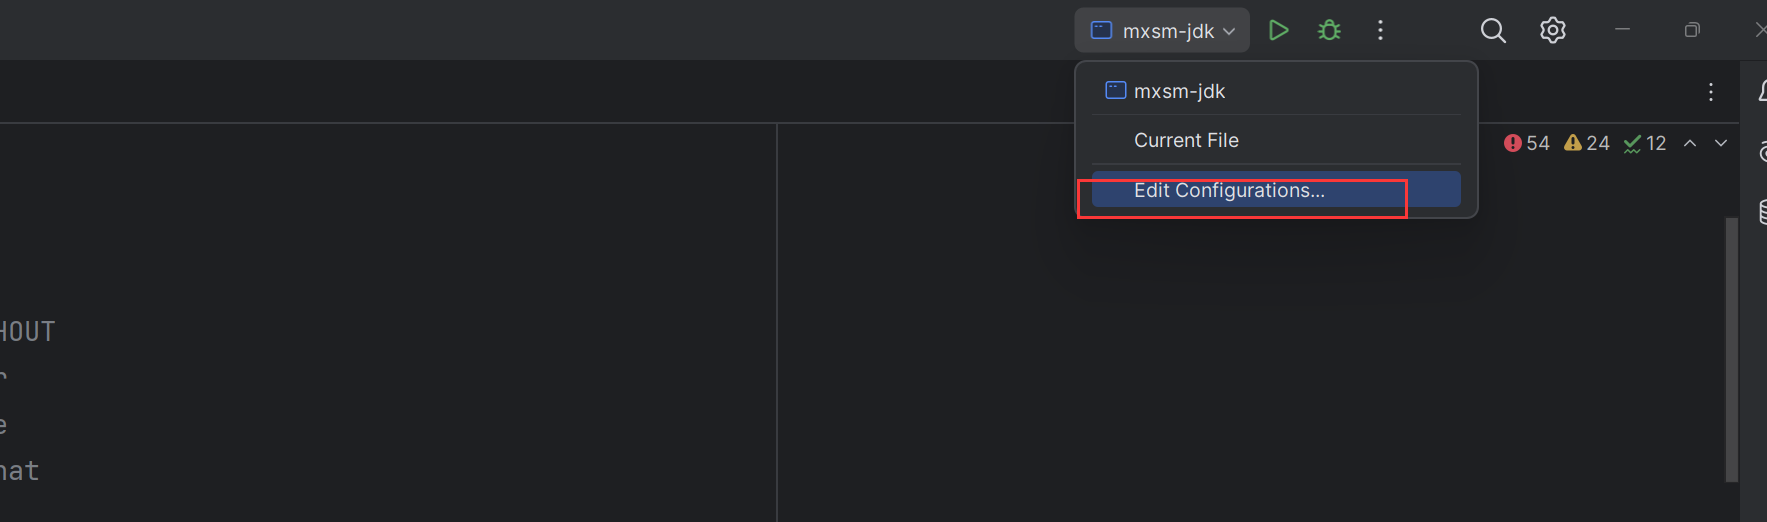
编辑配置:
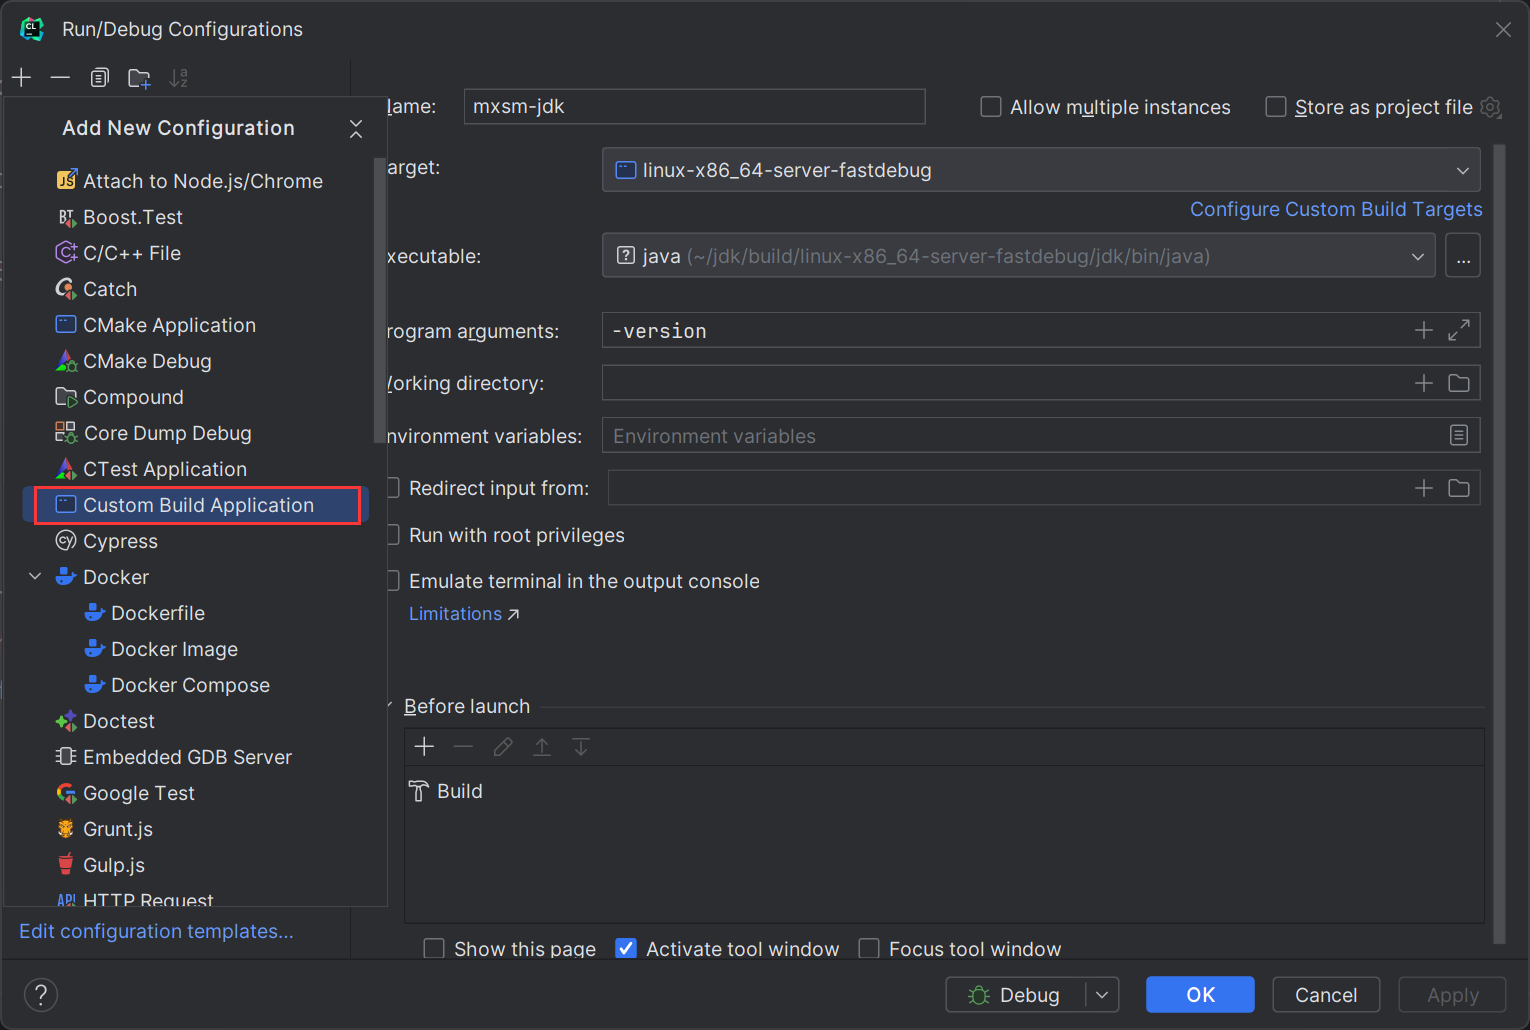
选择自定义构建应用
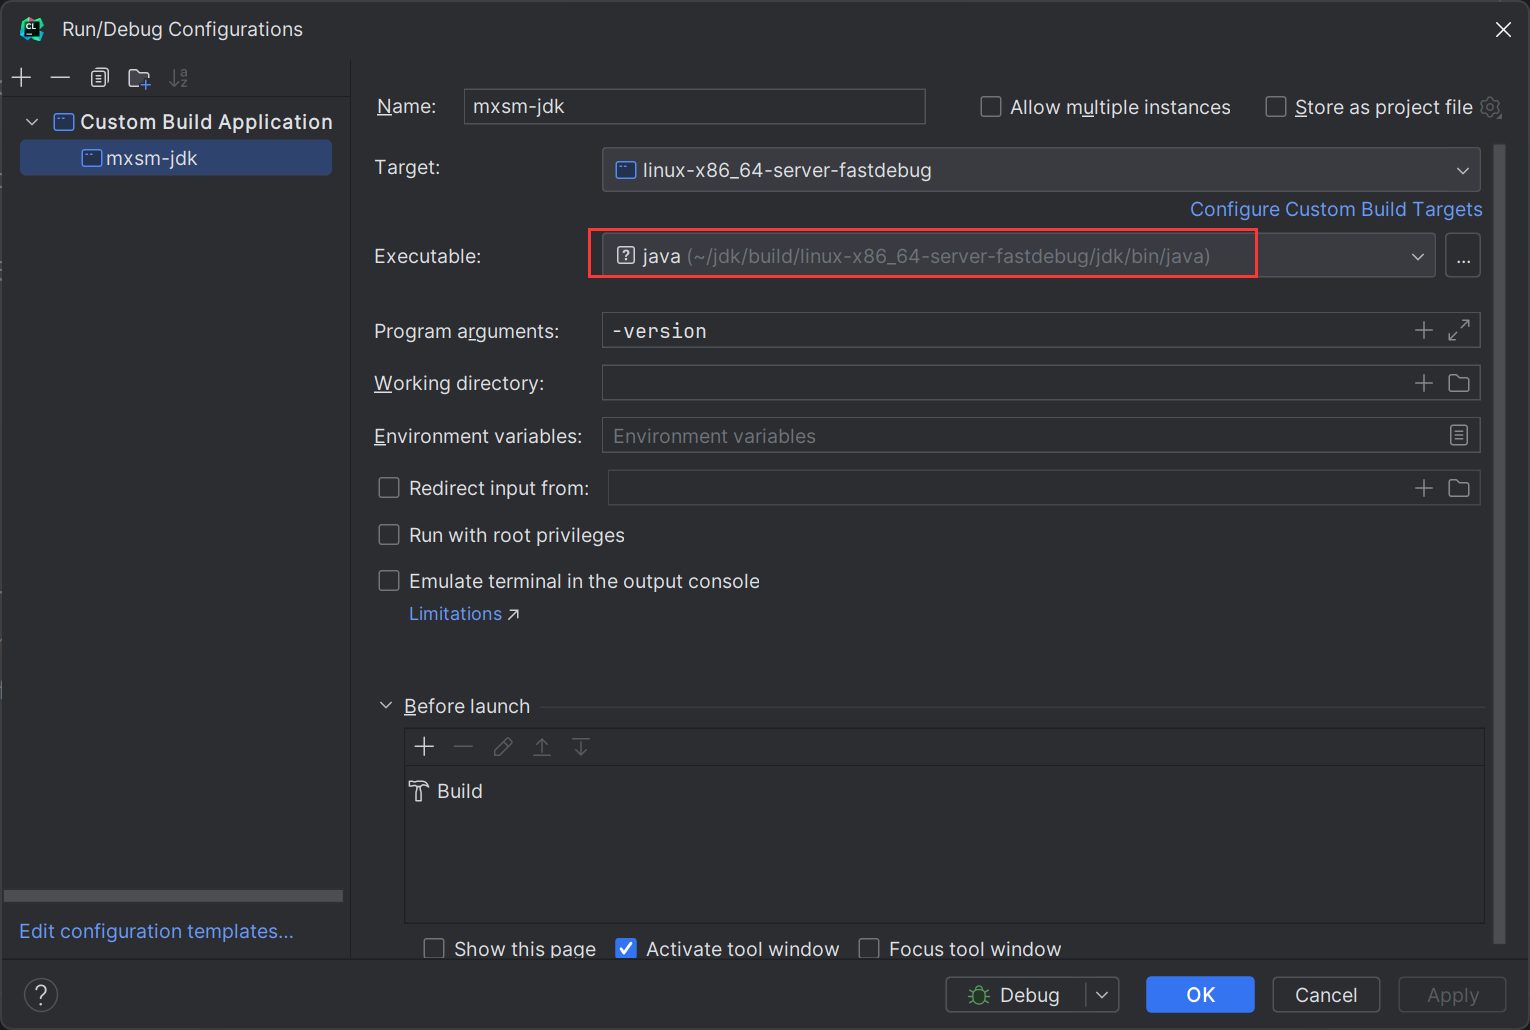
执行选择已经编译好的java命令。然后点击运行debug模式
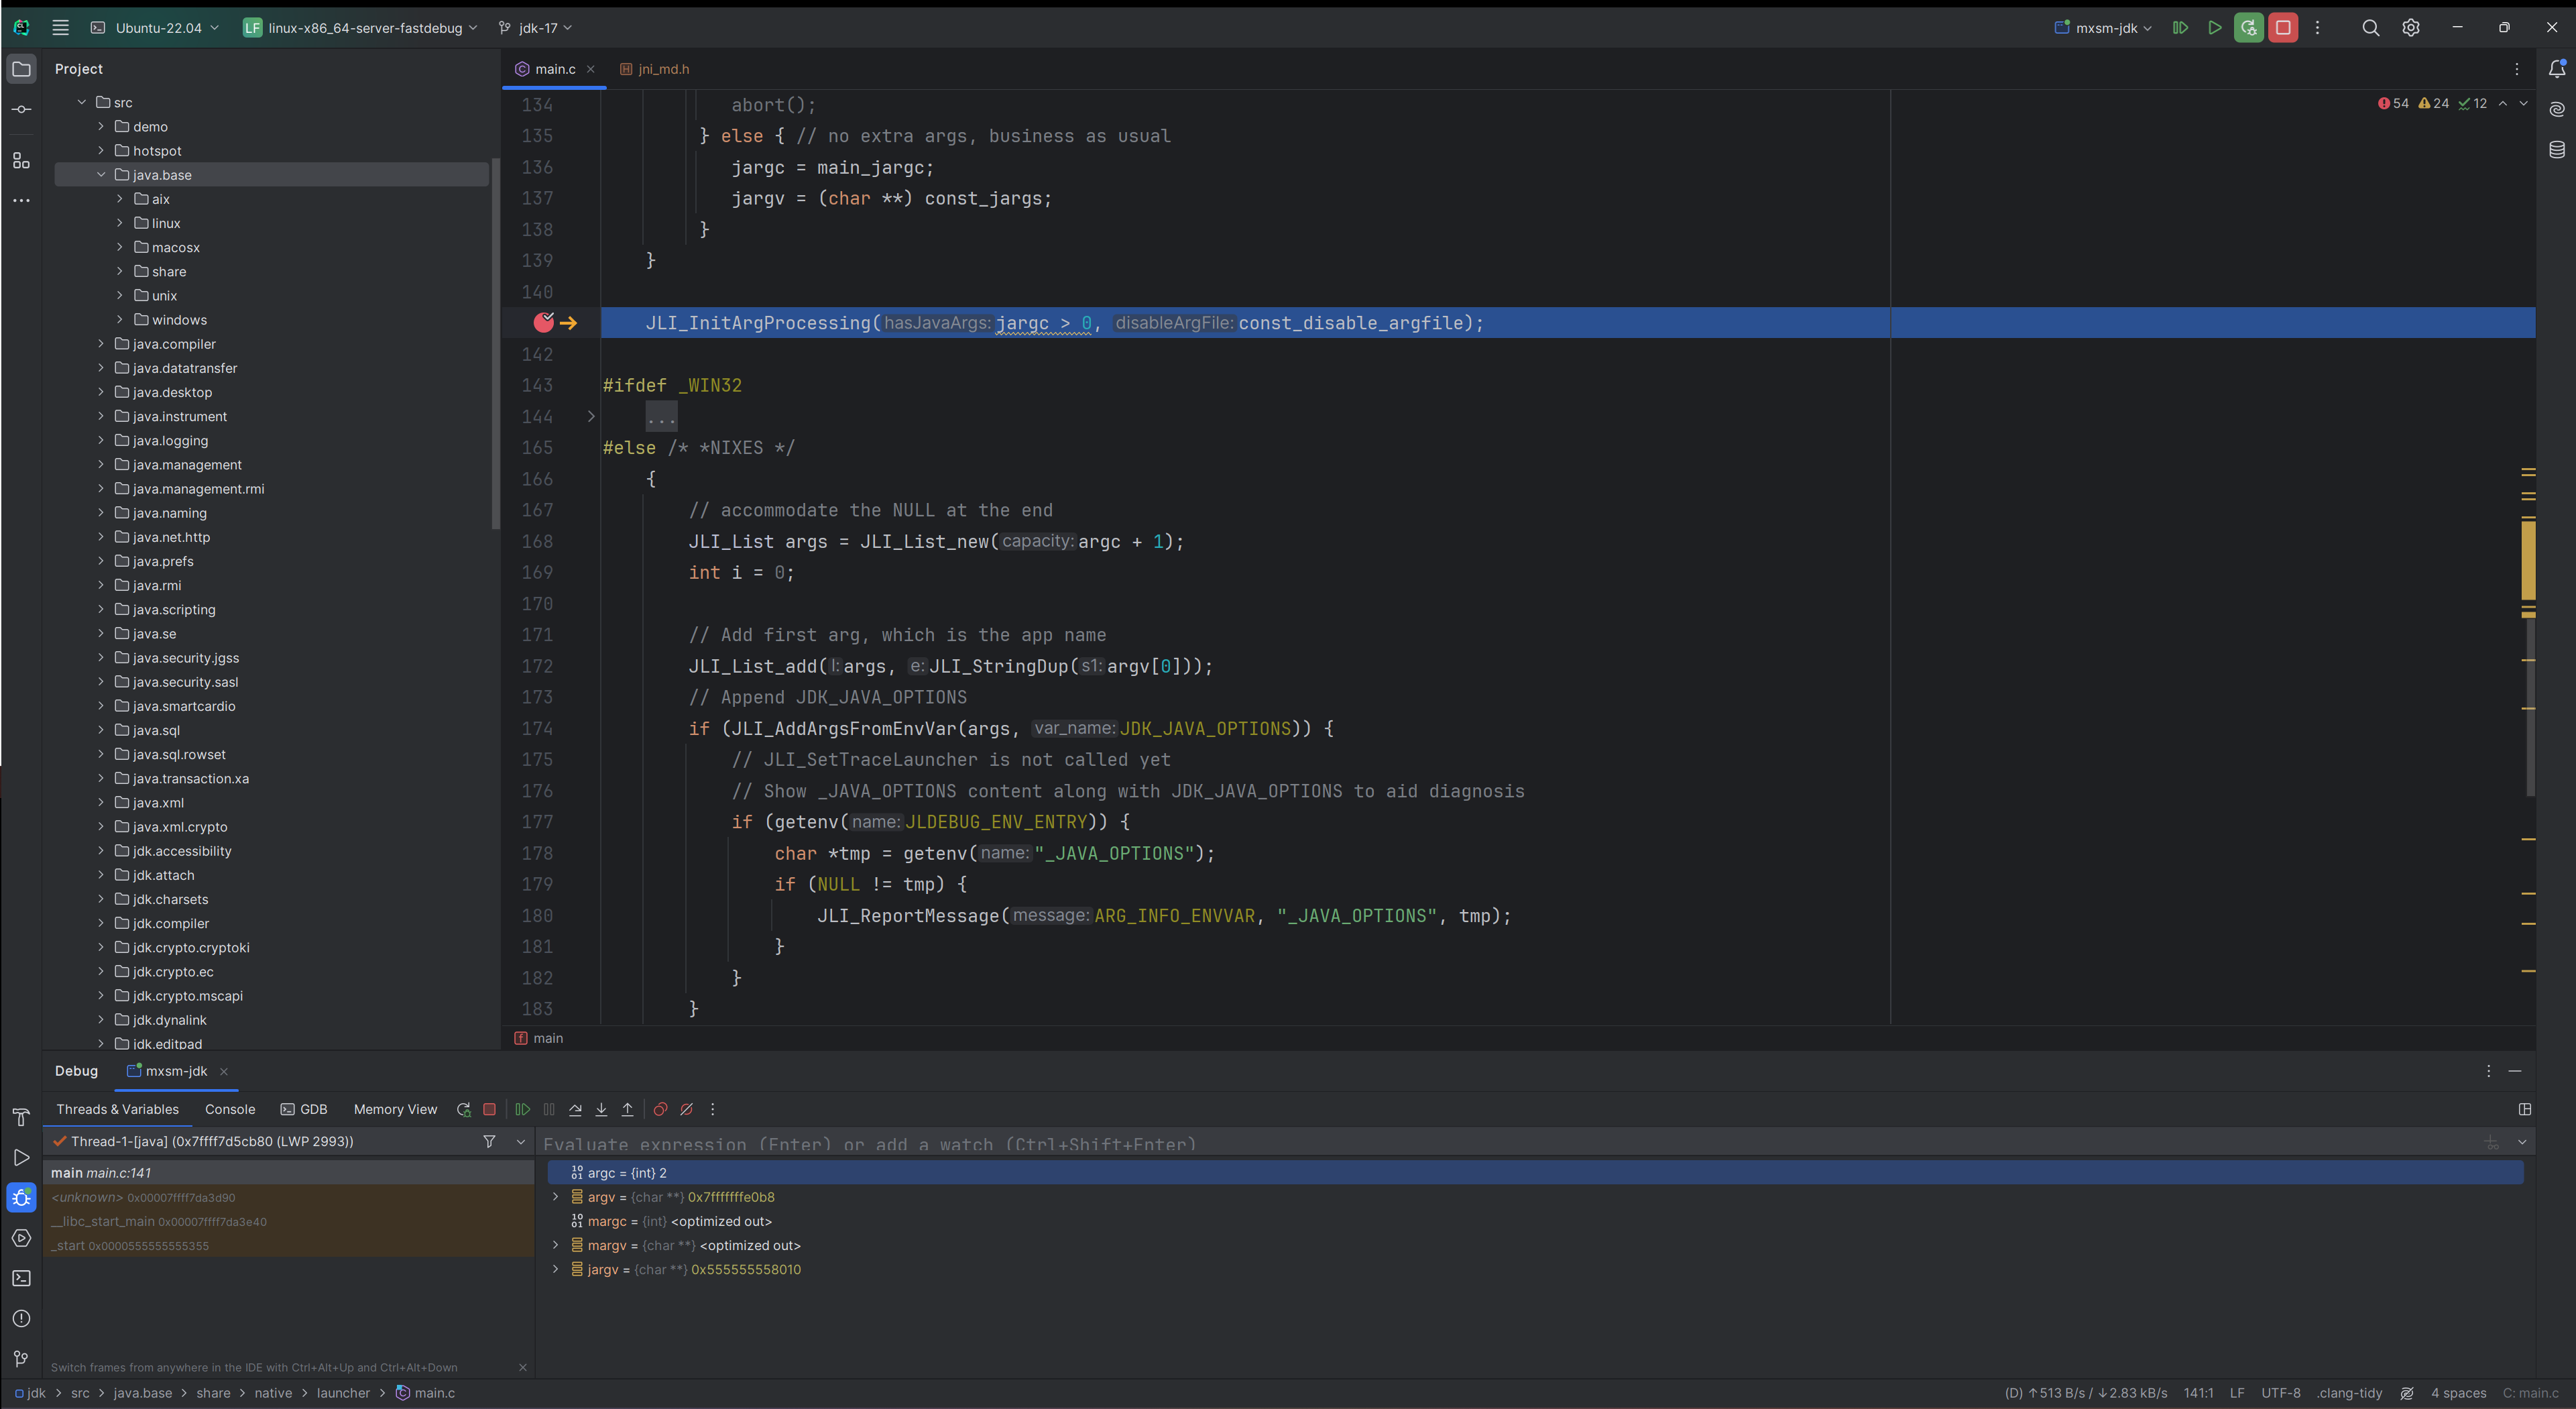
已经成功运行。